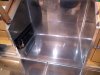
I got to see Jerry & Tina's camper last weekend - they've made some really nice additions to the galley.
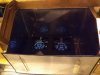
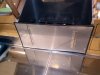
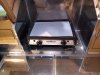
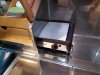
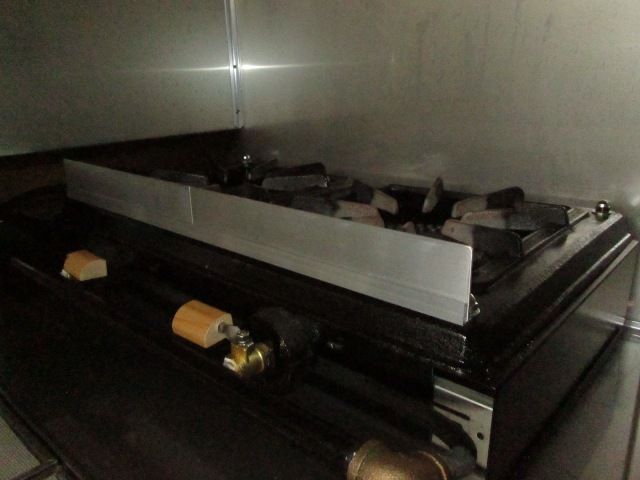
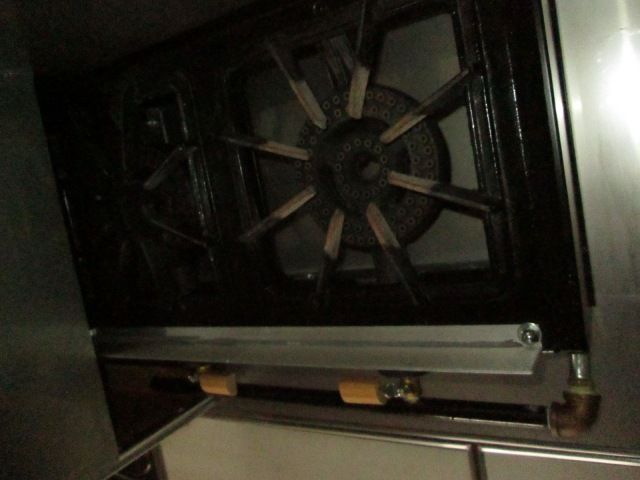
Tina said she really likes the wind block and rarely uses the extension. Here is Tim’s cheapie aluminum version. It’s not as professional-looking as Jerry’s stainless steel beauty, but it seemed pretty easy (with a few tools) and I thought someone might be interested.
The wind block is made from an old computer CPU cover (aluminum). If, for some crazy reason, you don’t have an old CPU cover (or microwave or street sign or some other piece of ersatz junk) lying around, you can buy small pieces of aluminum (or stainless steel) at Ace Hardware. Tim used his band saw to cut the aluminum 1 5/8” wide X 19” long. It’s in two pieces because he didn’t have one piece that was long enough. He says this will be the most difficult part, cutting the aluminum to size - you can use a hack saw, but it will be tricky keeping the edges straight. He then used the wire wheel on his grinder to smooth the cut edges. You could also use fine sandpaper or emery cloth.
The bracket is 1/16" X 1/2" X 3/4" aluminum angle cut to 19” long - he used the 3/4” edge for the bottom and the 1/2” edge for the support. You could use any size angle, this is what he had (it’s the same stuff he used in the under counter storage bin). He cut notches at the ends for the stove screws (you could also drill holes). Tim doesn’t have a spot welder so he used JB Weld to hold the aluminum pieces to the angle - some between the aluminum and the angle and some goobered on the back (for good luck). We’ll see how it goes - you could probably use some small bolts/nuts to hold the aluminum to the angle.
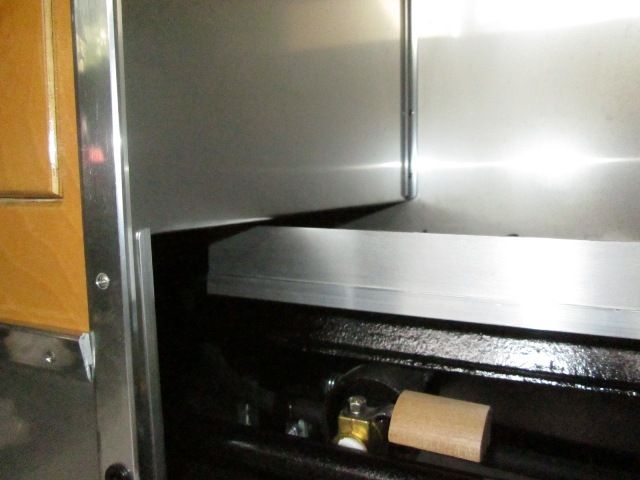
The finished height of the wind block (angle + aluminum piece) is 1 3/4” – that’s just wide enough to clear the underside of the cabinet when stowed. Check you stove – ours has a scant 2” of clearance between the stove base and the cabinet.
So far, it works pretty good and it seems pretty sturdy. Note: you might want to check your pots to make sure that they will fit on the stove with the wind block installed. And I have to make sure to lift the pots up and over the wind block – might be tricky with a heavy cast-iron pan.
Tina said she really likes the wind block and rarely uses the extension. Here is Tim’s cheapie aluminum version. It’s not as professional-looking as Jerry’s stainless steel beauty, but it seemed pretty easy (with a few tools) and I thought someone might be interested.
The wind block is made from an old computer CPU cover (aluminum). If, for some crazy reason, you don’t have an old CPU cover (or microwave or street sign or some other piece of ersatz junk) lying around, you can buy small pieces of aluminum (or stainless steel) at Ace Hardware. Tim used his band saw to cut the aluminum 1 5/8” wide X 19” long. It’s in two pieces because he didn’t have one piece that was long enough. He says this will be the most difficult part, cutting the aluminum to size - you can use a hack saw, but it will be tricky keeping the edges straight. He then used the wire wheel on his grinder to smooth the cut edges. You could also use fine sandpaper or emery cloth.
The bracket is 1/16" X 1/2" X 3/4" aluminum angle cut to 19” long - he used the 3/4” edge for the bottom and the 1/2” edge for the support. You could use any size angle, this is what he had (it’s the same stuff he used in the under counter storage bin). He cut notches at the ends for the stove screws (you could also drill holes). Tim doesn’t have a spot welder so he used JB Weld to hold the aluminum pieces to the angle - some between the aluminum and the angle and some goobered on the back (for good luck). We’ll see how it goes - you could probably use some small bolts/nuts to hold the aluminum to the angle.
The finished height of the wind block (angle + aluminum piece) is 1 3/4” – that’s just wide enough to clear the underside of the cabinet when stowed. Check you stove – ours has a scant 2” of clearance between the stove base and the cabinet.
So far, it works pretty good and it seems pretty sturdy. Note: you might want to check your pots to make sure that they will fit on the stove with the wind block installed. And I have to make sure to lift the pots up and over the wind block – might be tricky with a heavy cast-iron pan.