Solar Panel Project

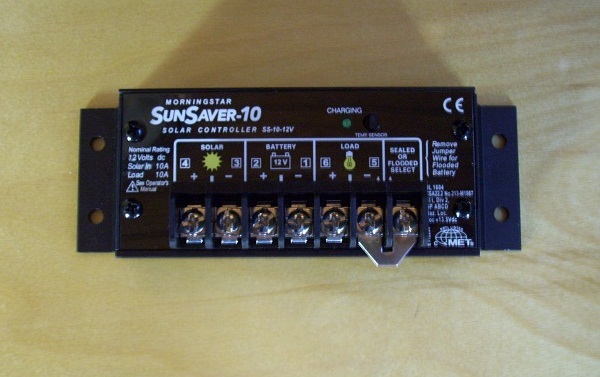
Just in time for the weekend I got my 90w panel by UL Solar and the Morningstar SunSaver 10 Controller.

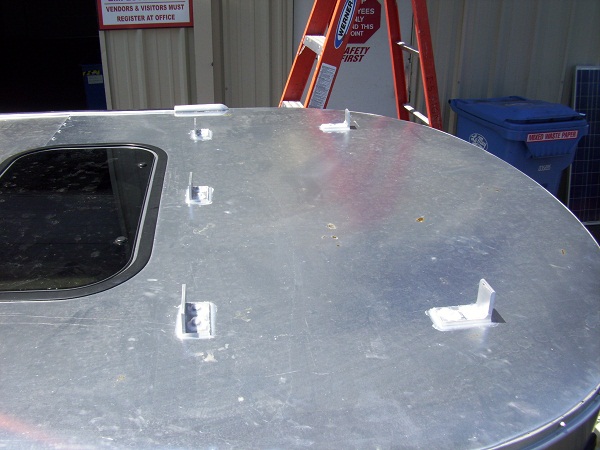
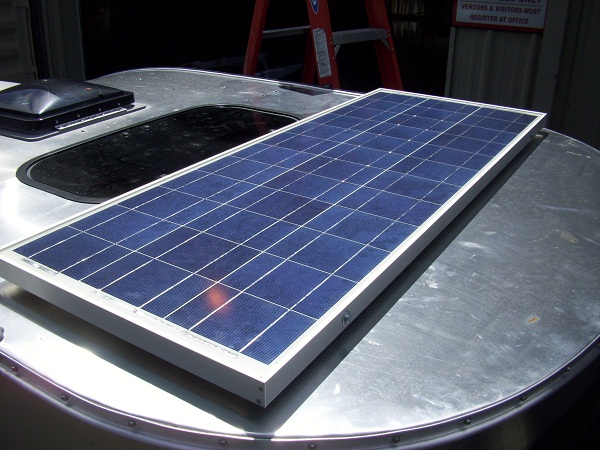
I haven't done any work yet, but I set the panel on the roof to see how it will look. I'm thinking that I want it as far back as possible so that it isn't too visible from the front.
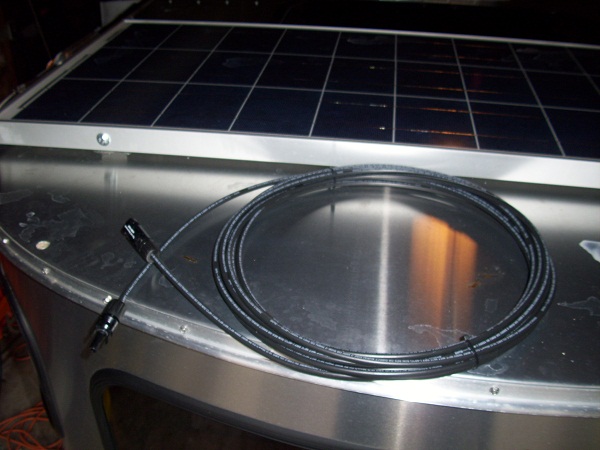
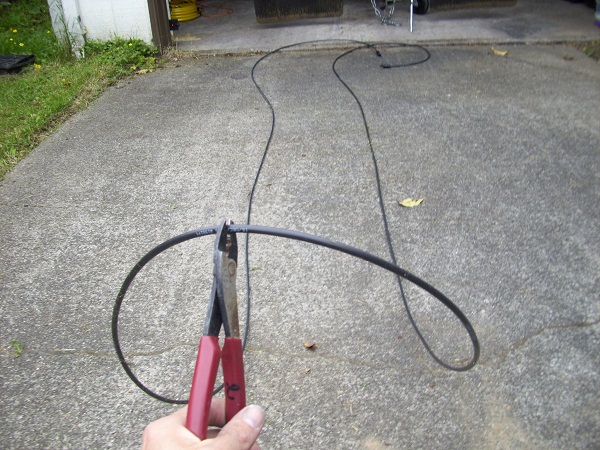
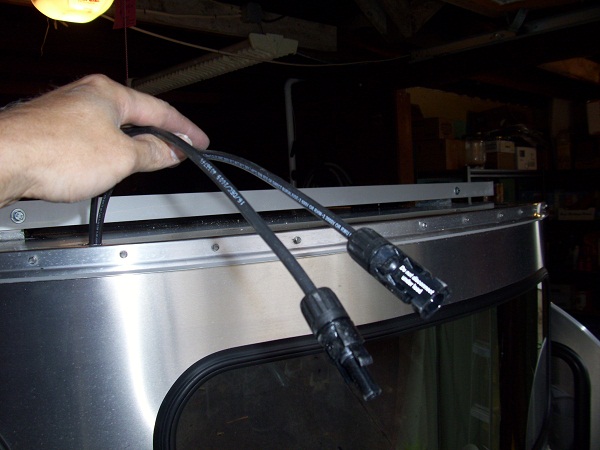
The hard part, of course, will be running the wires in the most discreet way to the controller.
Solar1.JPG


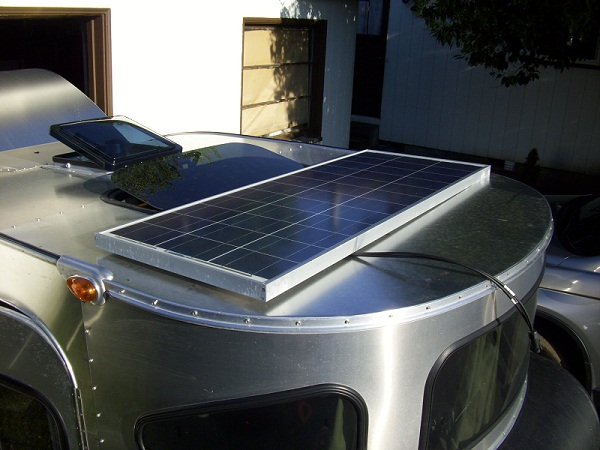
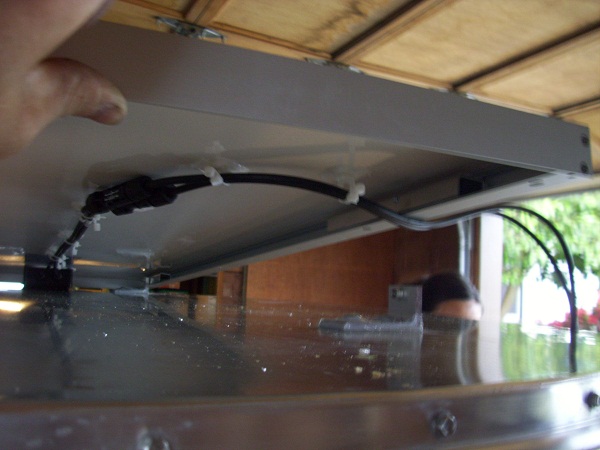
The panel has an aluminum extrusion frame, so hopefully it will blend in with the trailer and not be too visible from the ground...
Solar2.JPG


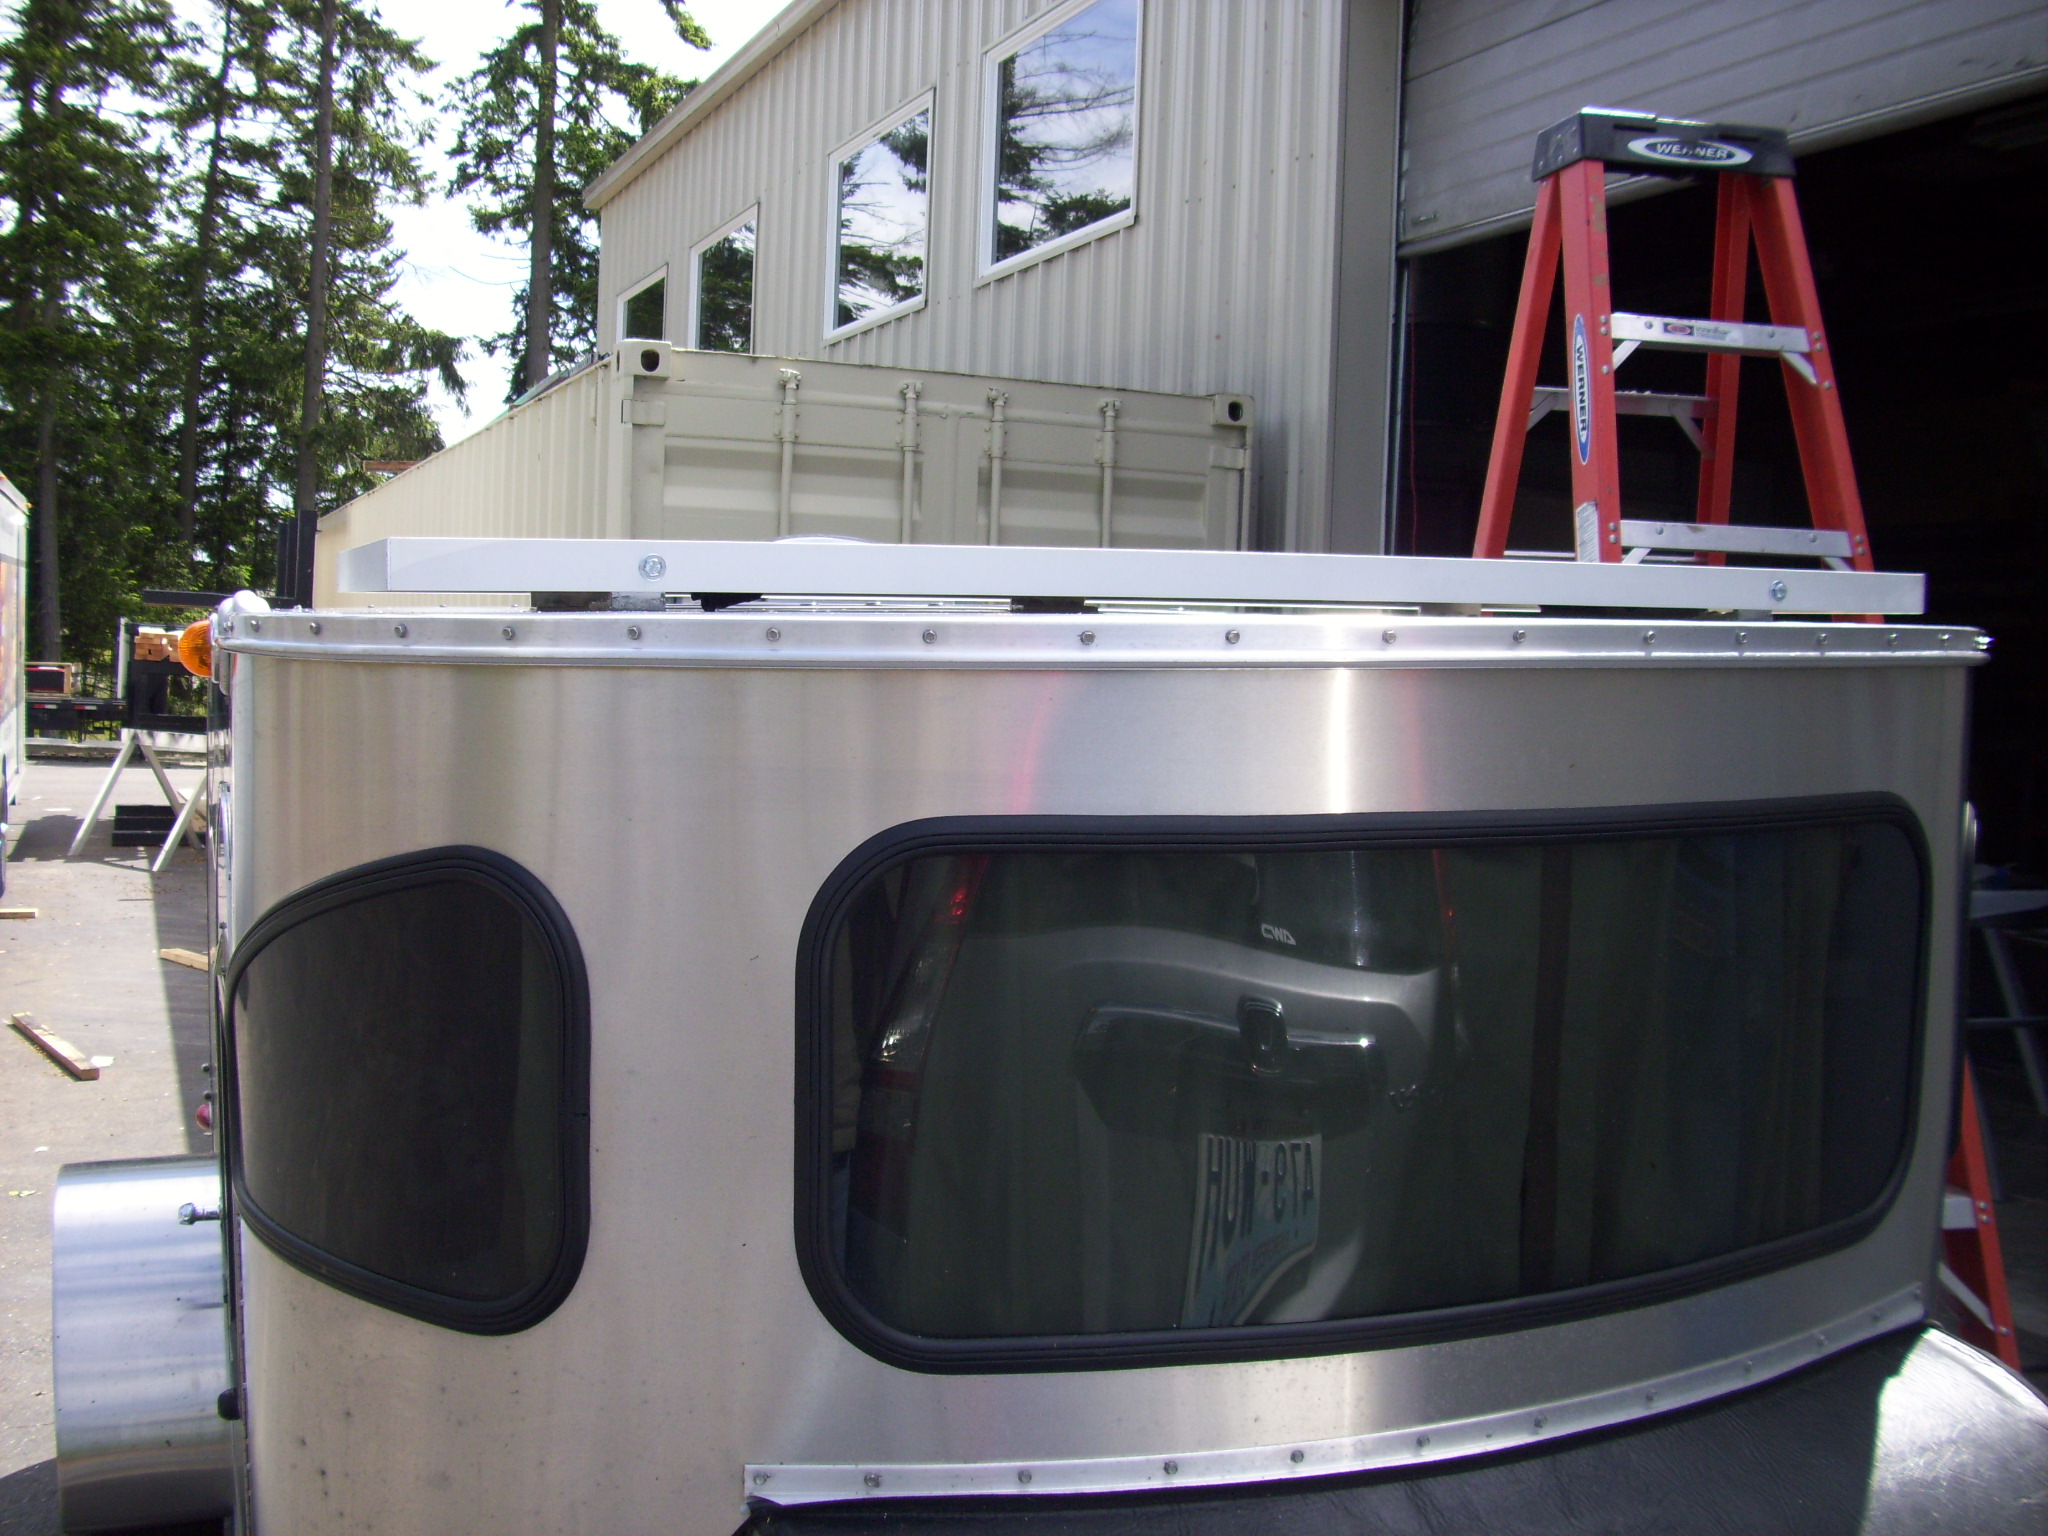
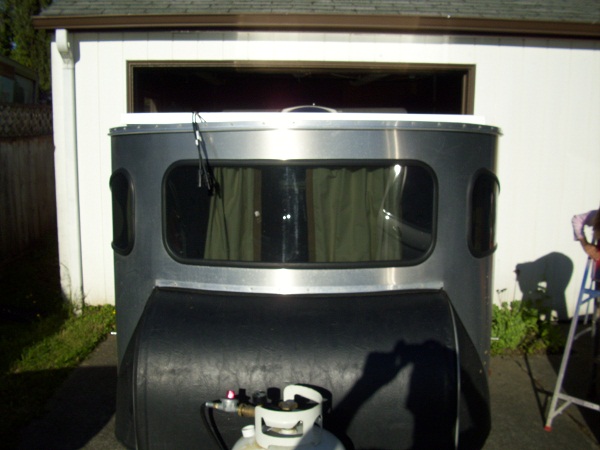
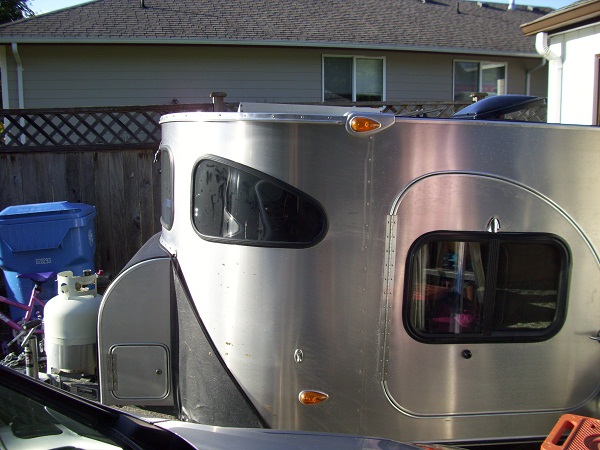
It doesn't look too bad from the front.
Solar3.JPG


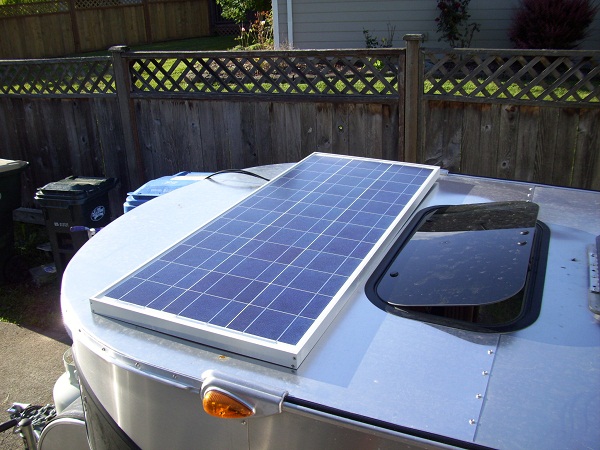
A little more visible from the side...
Solar4.JPG


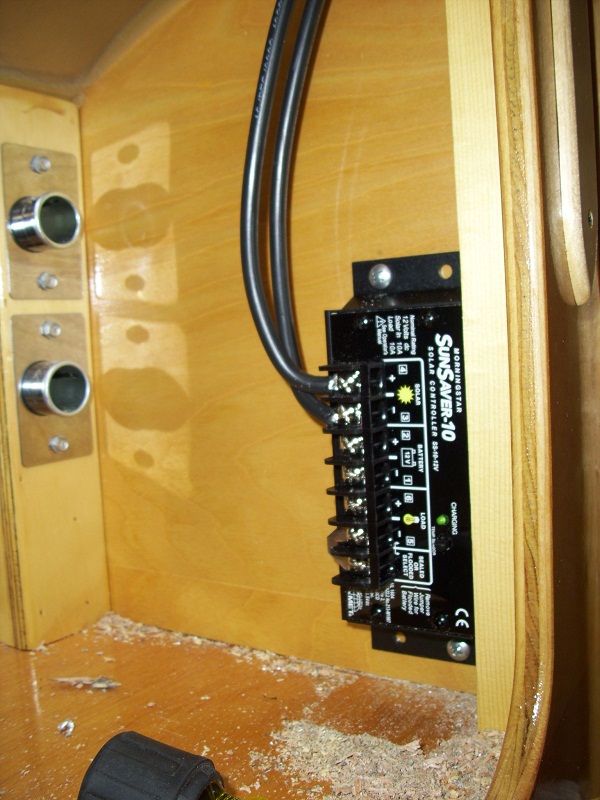
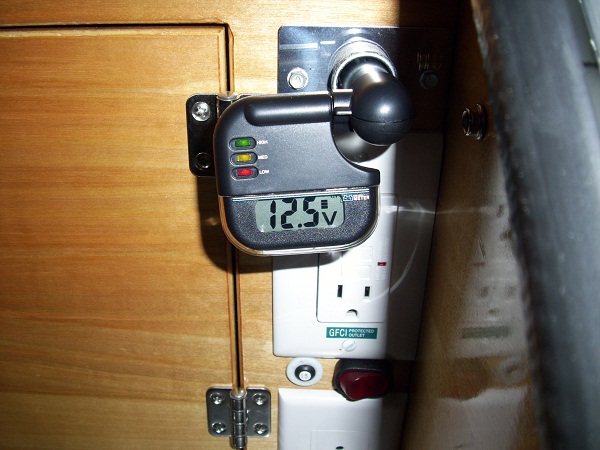
Here is the controller - looks pretty straight forward.
Solar5.JPG


After an extensive conversation with Cary, we set upon the front storage compartment as the best place to put the charge controller.
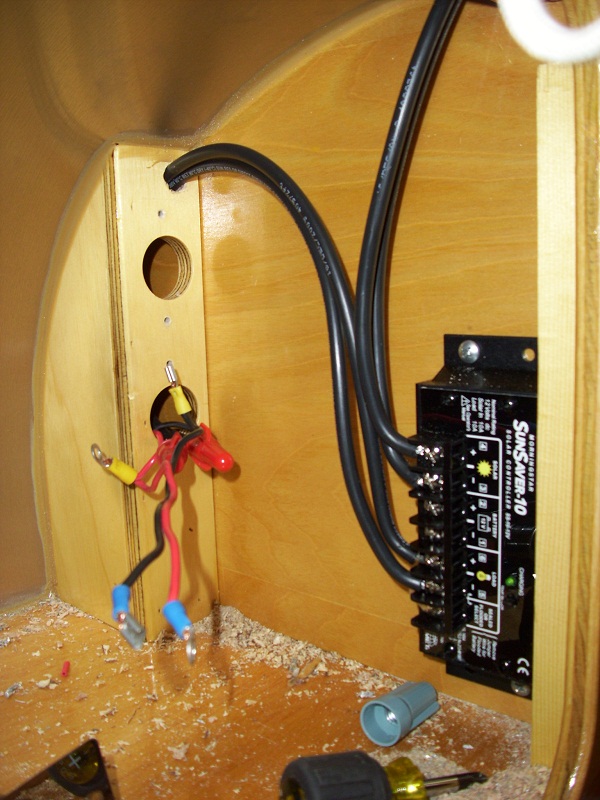
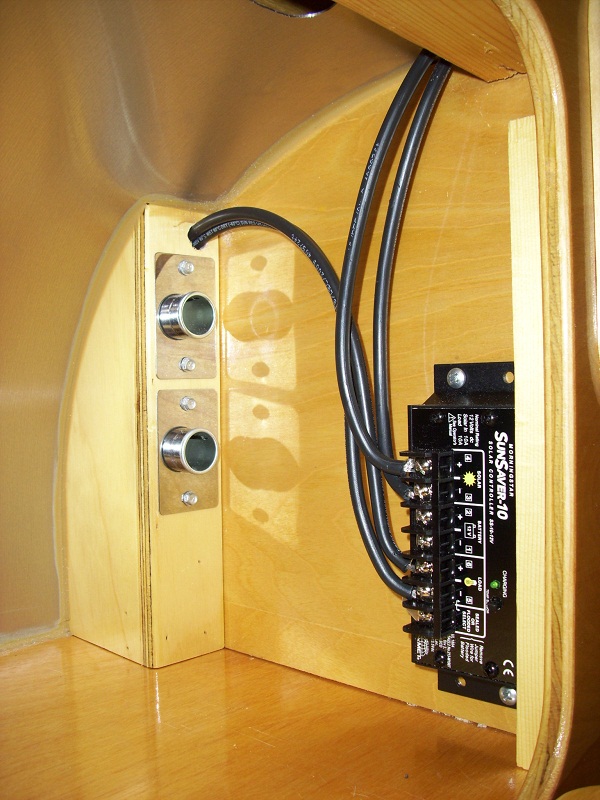
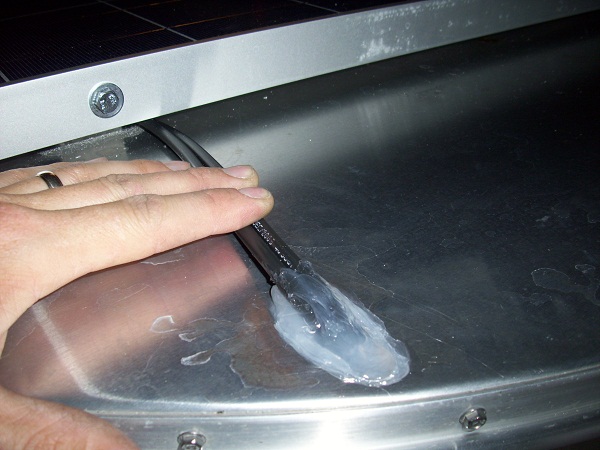
Rather than running a line from the controller back to the battery, Cary says it will work fine to just run to one of the 12v outlets nearby.
Solar6.JPG


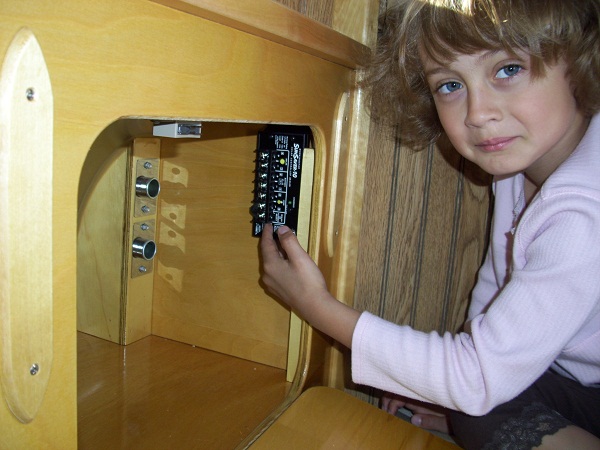
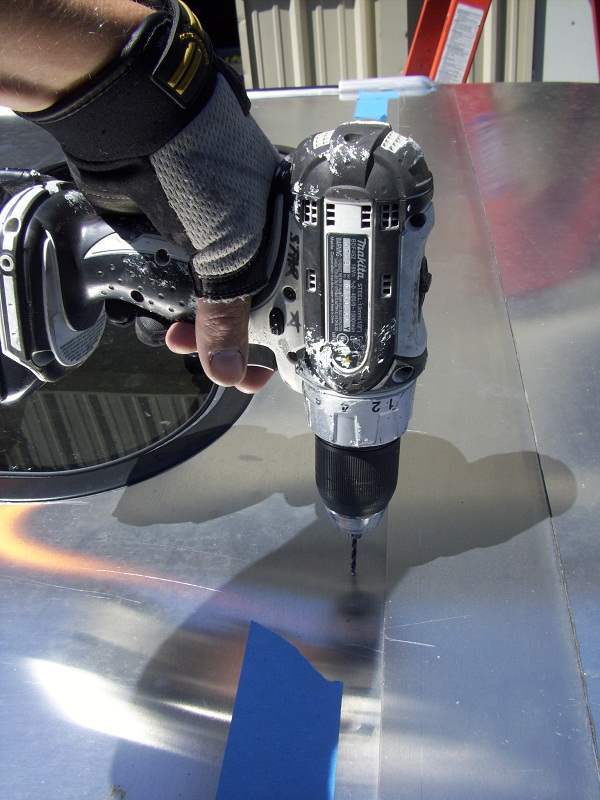
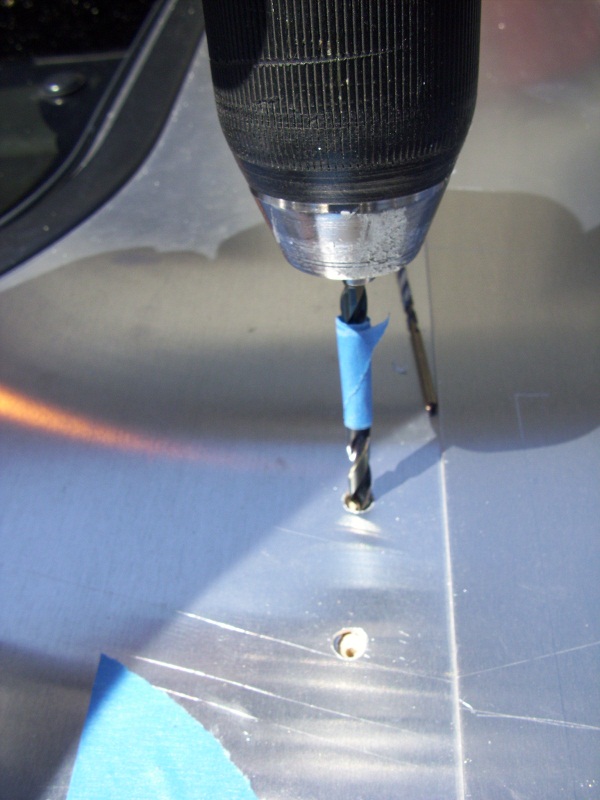
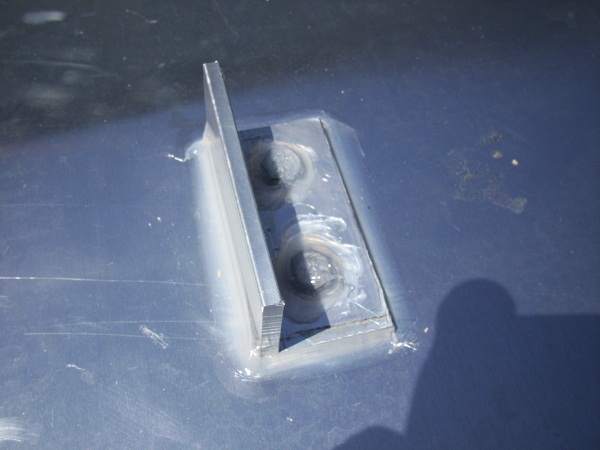
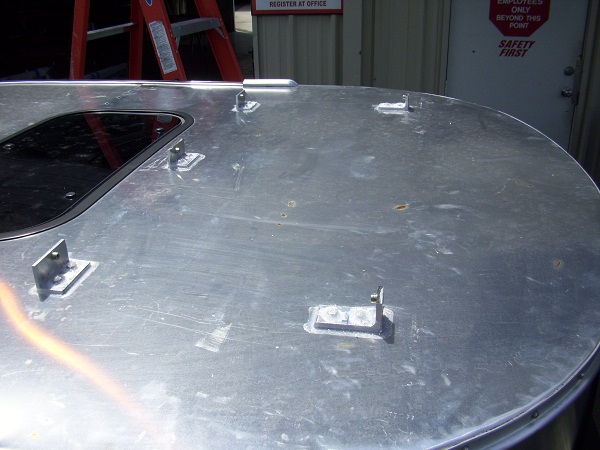
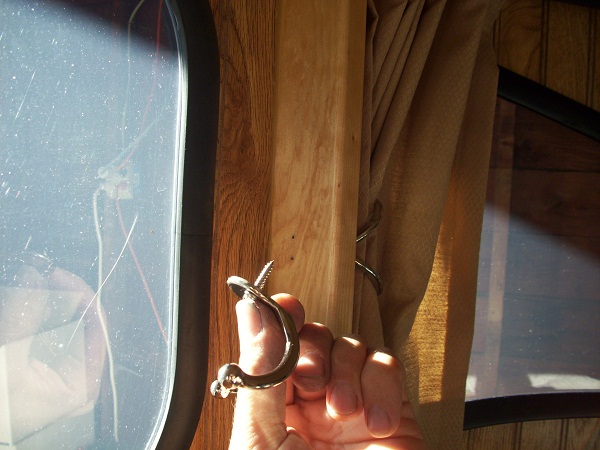
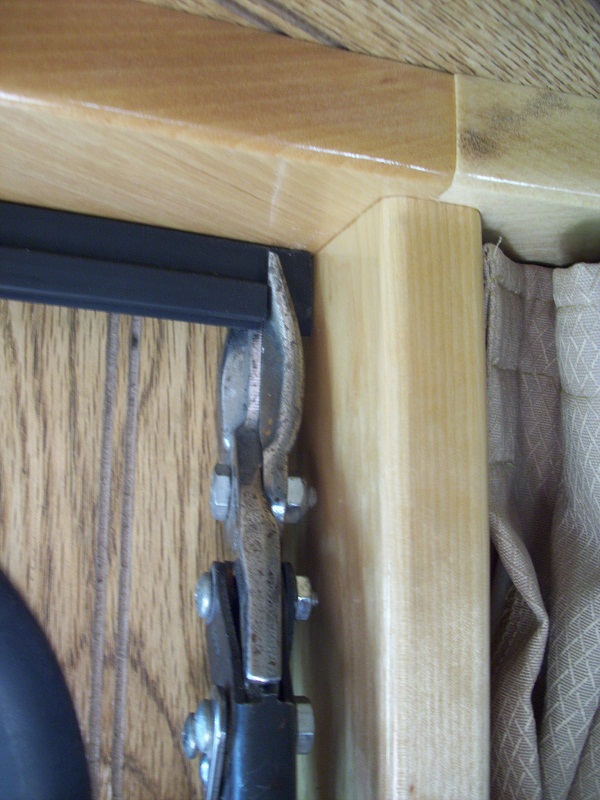
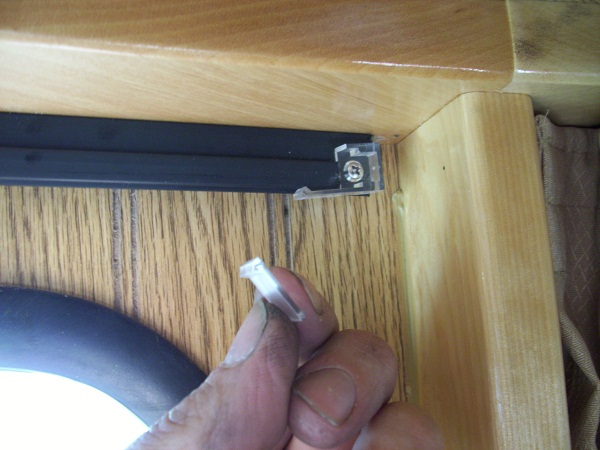
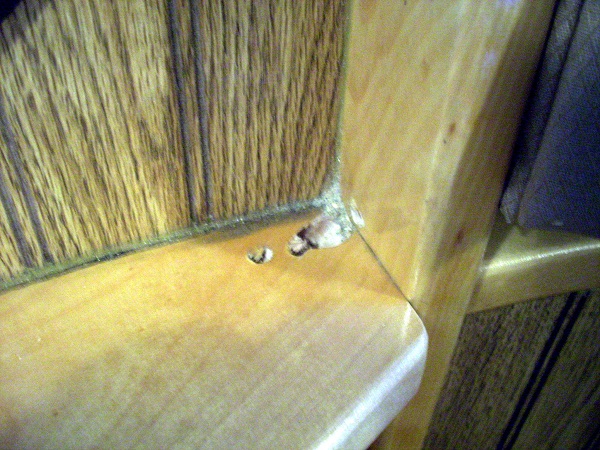
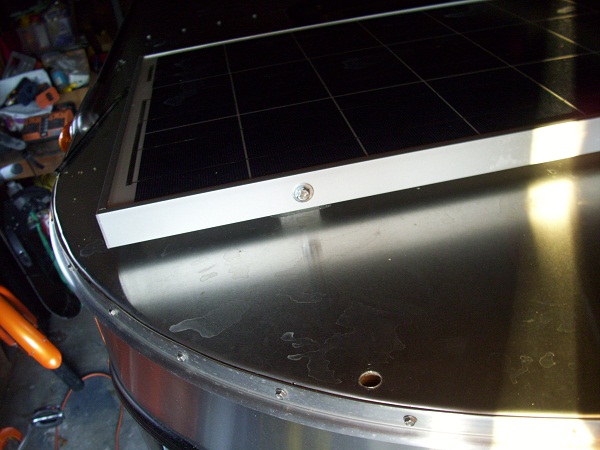
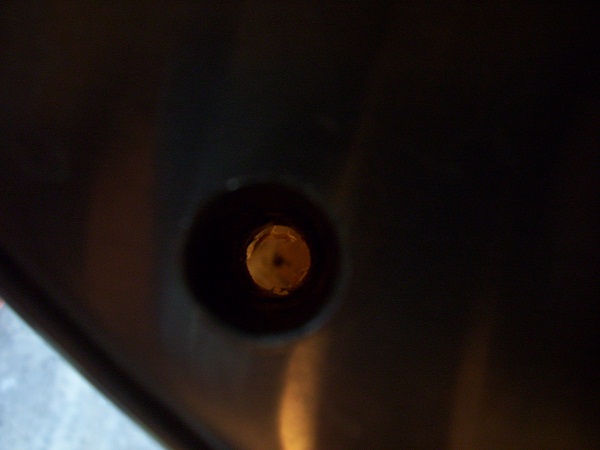
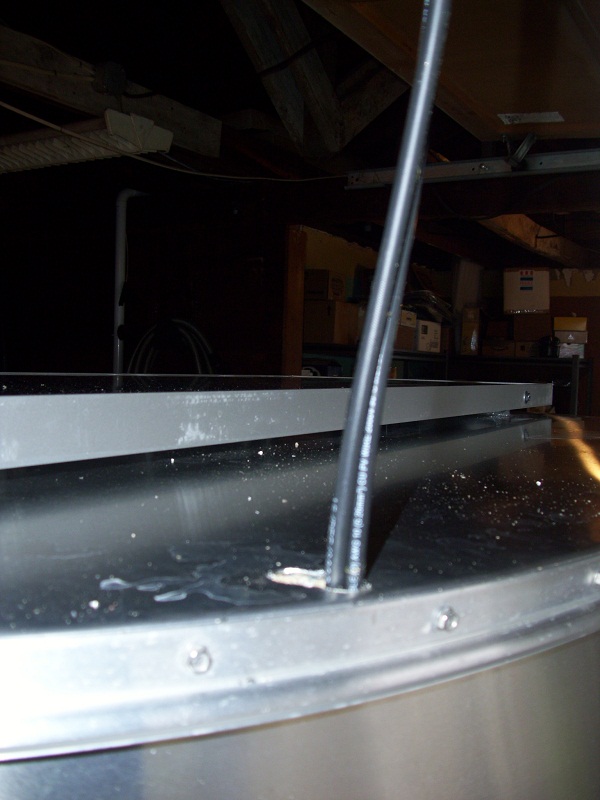
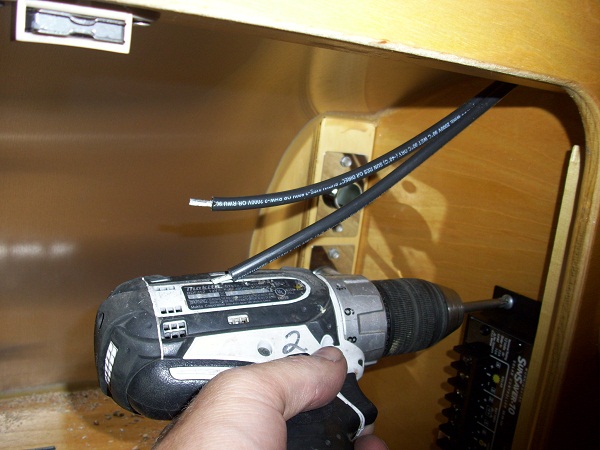
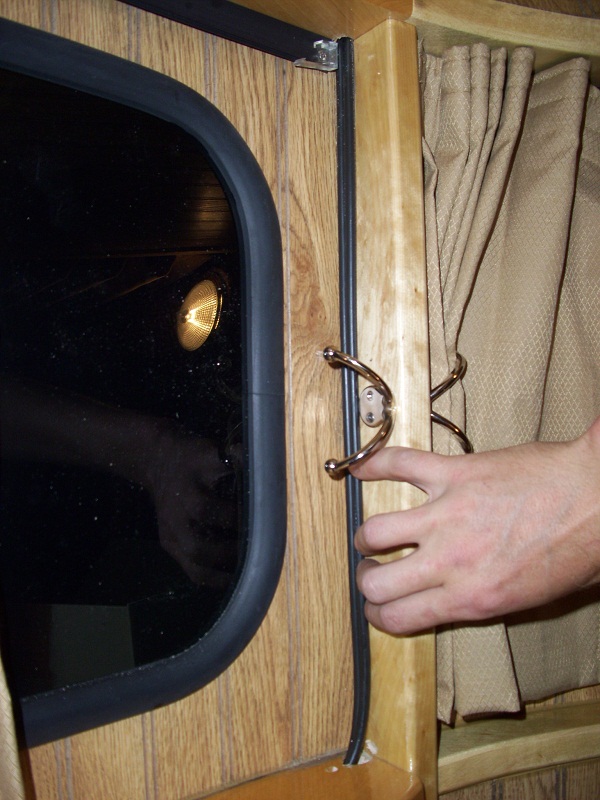
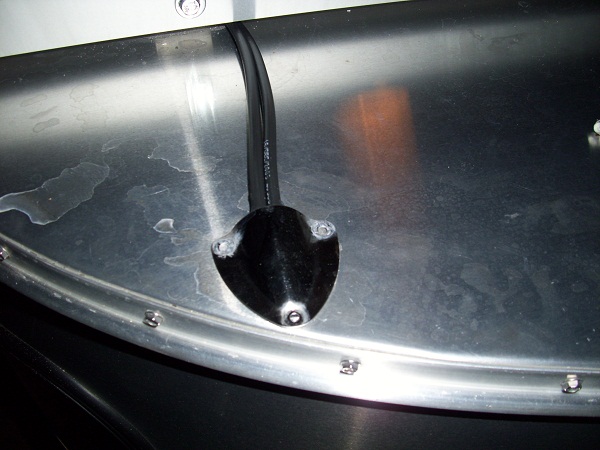
To get in to the front storage box, I've got to go down through the roof and run down in the corner.
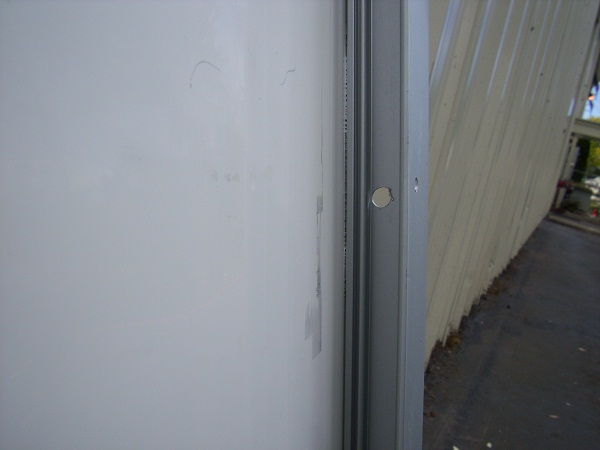
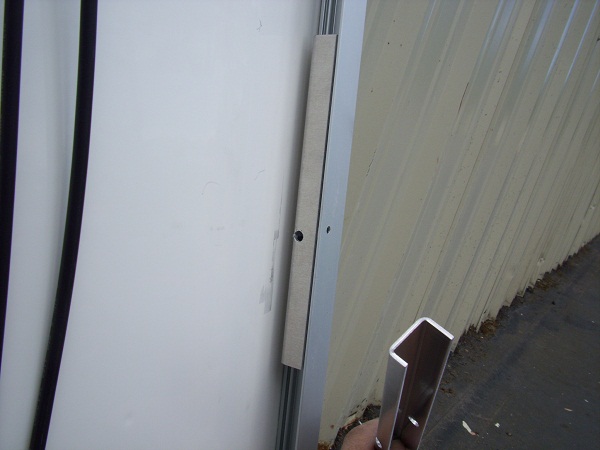
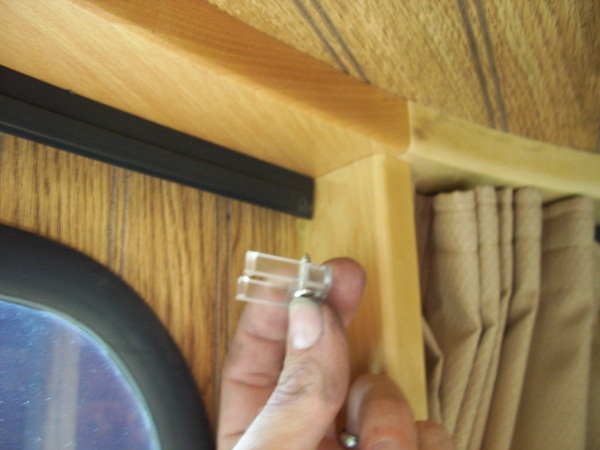
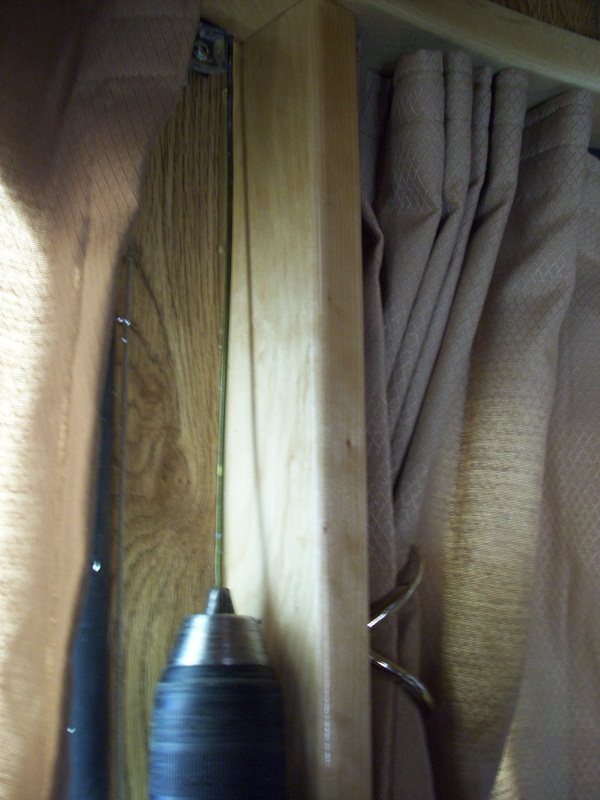
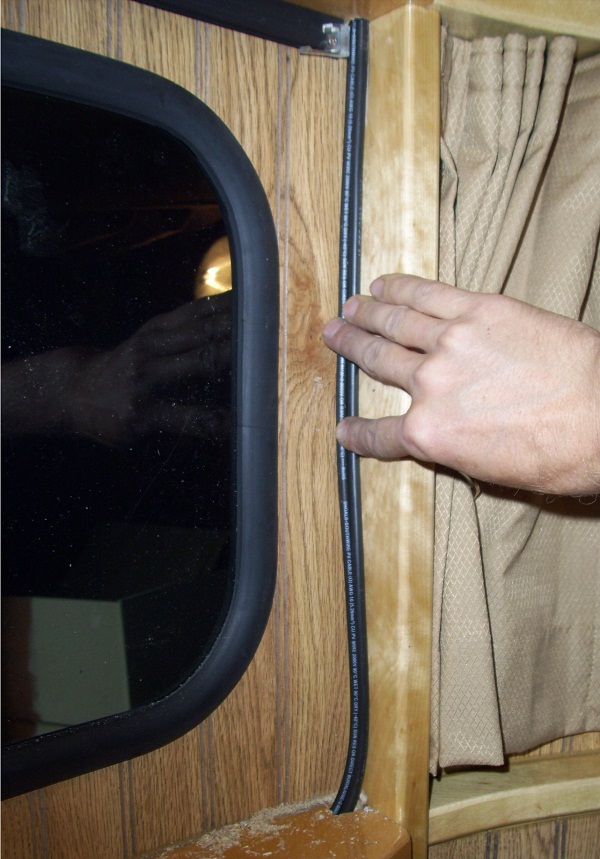
Then down through the window sill into the storage box. Once the cable is run, I'll hide it with a trim piece.
Solar7.JPG


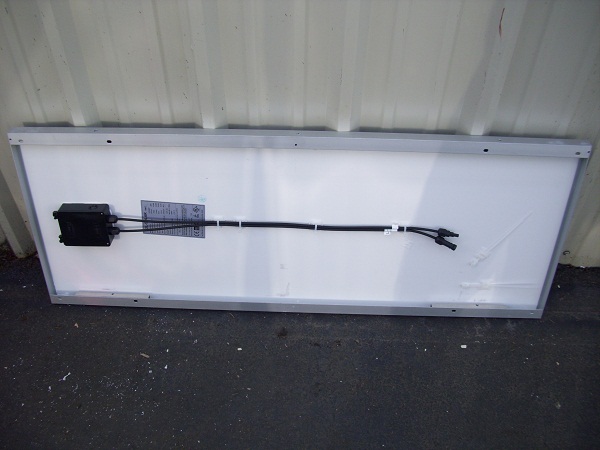
They sent me a free 5w panel with my purchase. Any ideas of what I should do with it?
(don't I have a great helper?)
Solar8.JPG


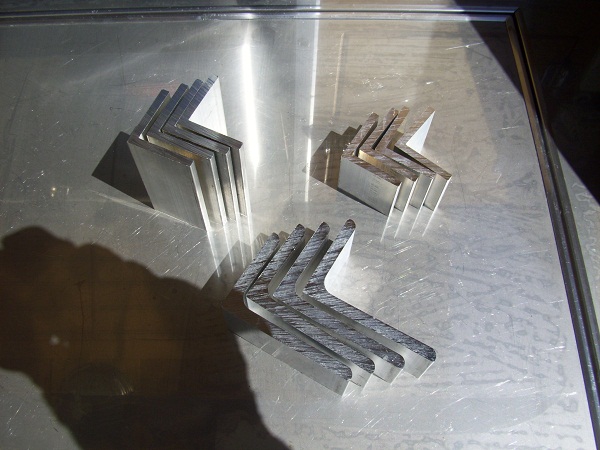
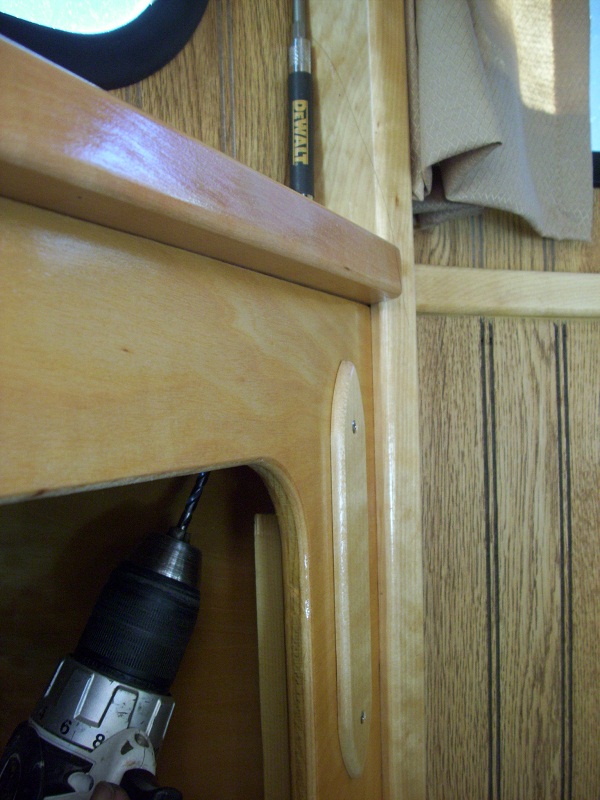
Tomorrow, I'm going to get out the drill... :o
 
By the end of the day, I will have either added the solar panel to the roof of my 560 or ruined the roof tring... :(

Here are the aluminum brackets I'm going to use to mount it. I'm probably only going to need 4 or 5 of them.
Solar9.JPG


The hard part was waking sure I hit solid wood and not foam. Cary recommended that I hit the 1" wide trim piece that divides the deep section of the ceiling from the shallow sunroof area. With the wood being so narrow, there was no margin for error, so I spent a long time measuring and remeasuring before I was ready to drill...
I used a very small bit to start out - I was afraid that I might be too near the edge of the wood and split it, so I drilled very slowly and checked the inside often. As far as I could tell, I must have hit the stud dead center because I never saw anything from the inside.
Solar10.JPG


Then I drilled out the aluminum sheeting with a 1/4" bit to prevent the 1/4" lags I was to use from grabbing the aluminum and damaging the sheeting.
Next I predrilled the hole with a 3/16" bit - I taped the bit to mark the depth.
Solar11.JPG


Taking no chances with leaks...
Solar12.JPG


Once the galvanized lags were in, I sealed around the bracket again and over the lags just to make sure.
I put in 3 brackets across the back of the panel in the same way with no problems.
Solar13.JPG


The front two brackets were a bit harder. There was no visible wood trim to hit, but my build photos showed that there were a couple studs hidden in the ceiling. I did the best I could with the computer to determine where the studs were...
My first hole just missed the stud. At least I was close enough that the extra hole would be covered by the bracket.
Solar14.JPG


All five brackets are mounted - no center bracket on the front because there is nothing there but foam.
Solar15.JPG
 
Once the brackets were mounted on the roof, I set the panel in place and predrilled the bolt holes.
Solar17.JPG


Because of the shape of the aluminum extrusion, the bolt hole was going to be an inch away from the roof bracket.
I made some braces to fill in the dead space. This way I could tighten the bolts without crushing the aluminum frame.
Solar18.JPG


The panel is ready to mount.
Solar19.JPG


I'm using threaded inserts on the brackets because there is no way to reach in with a nut.
Solar20.JPG


The panel is mounted - it can be removed with 5 bolts.
(I don't have the wire yet, so the panel is not hooked up to anything.)
Solar21.JPG


And there it is! I didn't ruin my roof after all.
I still have to run the cable down through my roof though - another day...
Solar23.JPG
 
Evan,

I really appreciate the detailed construction images and the description of how you are going about this install. Even though I have a different model Camp-Inn and don't anticipate a solar installation any time soon (but I really, really like the idea) it does help those of us thinking about other possible modifications, seeing how yours is being done.

Don
 
Hey Evan,

Great job !!!

However, I'm going to stick with a more portable type of set-up, which can be moved around my Campsite.

Here's some additional info on " Solar Power ". I've been visiting the website (approx 1 year) & signed up for the " Newsletter ".
I would like to attend one of their " Workshops/ Classes " in the future... ?

sli@solarliving.org
http://us1.campaign-archive.com/?u=6a98ef838a5191e163063303a&id=280e137052&e=4805387712.


L.M.
 
Last edited by a moderator:
I will now continue with the 'destruction' of my 560.
I have been thinking about drilling these two holes for a few weeks now and have finally worked up the courage to do it.

The cable will come down through the roof right in the corner, so the track for the curtain will need cut back a half inch (maybe more later).
Removing the clip...
Solar24.JPG


The curtain holder will also be in the way. It probably just needs to move out away from the window a little bit.
Solar25.JPG


What kind of special bit do your guys use, Cary? That was a hard screw to remove!
Solar26.JPG


Cutting the plastic track back 1/2".
Solar27.JPG


Oops! I'm going to need a new clip. How much, Cary? Maybe Craig can bring one to IRG - save on shipping... haha.
I think it's important to mount the clip dead center. My new hole was a tiny bit high and I'm pretty sure that's why it snapped off.
Solar28.JPG


And now for the hardest part of this whole solar panel project...
Drilling up from the front storage compartment at a double angle, up through the center window sill, trying to hit as close as possible to the corner (right where the deWalt bit is sitting.)
Solar29.JPG


Tune in next week to see what happens next.... :( --> :o ---> :eek: ---> :cry:
 
Talk about keeping us in suspense... 'next week'??!! C'mon Evan, we want to know now!
You're a braver soul than me. But you're doing great so far - very professional looking job.
 
Evan,
I could almost hear your tear scream when you drilled through the roof - your a braver soul than I.
Pat
 
...and so, on the last episode of "Make your teardrop cry..." I was drilling a hole at a double slant up through my beautiful solid wood window sill. I figured my I had a 1% chance of hitting the corner I wanted, 20% chance of accidentally going out the side wall of the trailer to the outside, and an 79% chance of ruining my window sill.

Playing up the suspense here? No, I'm just ashamed to show the next picture...

The first hole came out about 3/4" from the corner where I wanted it. Any wood gurus out there that know how to make the little hole disappear? I'm probably going to need a piece of trim to cover all of this.
Solar30.JPG


Drilling the hole up through the roof was also tricky because it's not possible to fit a drill in the corner and drill straight up. Time to get out the ultra-secret flexible bit (a.k.a. coat hanger). I learned this trick from the guy who installed a vacuum system in my house. Just cut off a 12" straight section of coat hanger. It will flex into the craziest spots and drill through 2" of solid wood if need be. That was the case here - 2" of solid wood and a couple layers of aluminum.
Solar31.JPG


You can see the bump where the coat hanger bit was just about to pop through the aluminum sheeting.
(My roof doesn't really look that bad - it's just the way the camera caught the light.)
Solar32.JPG


Once I had the pilot hole, I drilled down from the top with a 1/2" bit.
Solar33.JPG


I will have to run the cable back across 10" of exposed roof.
Solar34.JPG


This is looking down through the hole in the roof. The black dot in the center is the second hole through the window sill farther below.
Solar35.JPG


I'm now as far as I can go until my special MC-4 Solar cable arrives.
 
Looking good, Evan. I've heard that mixing the sawdust with some wood glue will make a decent looking patch - not sure how much sawdust you produced, though. Your thought about a small piece of trim would probably be all but unnoticable, though. Keep us posted.
 
I got my MC-4 cable yesterday (10 gauge - 14 would have worked, but that's much harder to find). It's 30' long with a male and female end.
Solar38.JPG


Cutting the cable in half...
Solar39.JPG


Feeding the cable down through the roof. The cable is pretty rigid. Because I wanted it to lay flat on the roof, I had to make the hole bigger at the back.
Solar40.JPG


The cable is fished through leaving just enough room to reach the connection under the solar panel.
Solar41.JPG


I had to remove the 5 bolts anchoring the solar panel to get under it and make the connections. The MC-4 connectors are waterproof and lock in place making them an ideal standard for solar cabling.
Solar44.JPG


Inside the trailer, I ran the wires down the window trim and through the window sill into the front storage compartment.
Solar42.JPG


The Morningstar SunSaver controller got mounted onto the side wall of the cabinet.
Solar46.JPG


As soon as I connected the two wires from the solar panel, the green "charging" LED came on. Even though I had been expecting this, it still seemed a bit incredible that the charge light could be on when the system was not plugged into any conventional power source. The whole concept of free, unlimited energy - and maybe never having to plug in again was suddenly very real.
Solar47.JPG


I used the leftover cable to run to the 12v outlet (this is for charging the battery from the solar panel).
Solar48.JPG


All the wiring is done. I wonder if it actually works now?
Solar49.JPG
 
Reinstalled the curtain holder thingy...
My original plan was to cover the cable with a hollowed out piece of trim. But Lena thinks it looks fine as it. What do you guys think?
Solar50.JPG


With the curtain rolled back you can only see a tiny bit of the cable... (and the extra hole that I need to patch)
Solar51.JPG


I sealed the hole on the roof - can't afford to take any chances here because unlike a lag or screw, the cables only fill about 1/3" of the actual hole. I am going to make an aluminum trim or molding to cover the cable.
Solar52.JPG


And now for the best part:
When I finished running the cables my battery meter read 12.2 - but by the time I was done cleaning up it had climbed to 12.5 - and my trailer was in the garage at dusk.
Solar53.JPG


We plan on going out this weekend, so we are going to experiment to find out how well the panel can keep up with various things running.
I still have a few trim pieces to make, but for all practical purposes the solar panel installation is done. I will post the results from our outing when we get back.
 
Craig wants to know if you think one of the little metal vent covers that is over the doors would cover the roof hole/silicone? If so, you can get one along with the curtain clip & key markers.

BTW...Craig thinks you did a nice job. He agrees with Lena - no trim needed on the inside other than covering the hole.

:cool:
 
Genius, Craig!!
Solar54.JPG


Yep - I need one of these. Would you screw it down too, or just use silicone?
And while you're on your genious roll, do you have any ideas for patching that hole?

Thank you!
 
Great looking job, Evan. Quality workmanship. I don't think you need to cover the cable either, it's barely noticable.
 
Great job Evan! Now I can't wait to get a solar panel for our camper. We just had our camper retrofitted at the Camp-Inn factory for solar along with the faucet/backsplash upgrade. Nice work at the factory as usual. I think we will keep our solar panel separate as our camper is a 550. It doesn't sound like we need to be too concerned about the proper angle to the sun if yours is charging while in your garage at dusk. Do you agree Evan?
Charlie
 
Well, the charge light on the controller will turn on if I turn on a single light bulb in my garage - but it doesn't mean it's getting a lot of juice. I think it's very sensitive.

Also, the battery meter going from 12.2 to 12.5 may not mean a whole lot because the readings seem to jump around a bit sometimes. I'm sure Cary could say more about this, as he's a battery expert.

I will be able to give you a better answer after we are actually out in the sun for few days.
 
Evan,

Your panel is just tickling the battery a bit, that is the small bump in voltage you see on the meter. Basically the controller turned on and that is about it. Still that is soooo cool that it is responding already while in the garage, gotta love that.

Looks like Craig had yet another good idea there with the clam shell. I would put the screws in too. They will hold in just the aluminum but make sure to tighten very lightly by hand.

As for the extra hole in the sill, a nice little birch cover could be made to clean that up. I can throw in a piece of matching birch scrap in when you get the other stuff so you can make a cover. If I remember too, I will toss a couple of the small SS screws we use for mounting such things.

Cary
 
Evan,
Wow! I'm impressed with both your results and with your courage to tackle such a project. I don't even have the courage to drill holes for a paper towel holder! Maybe after a few years I'll feel differently.

Again, nice job!
 
Back
Top